Tag: Keeping of animals

Pond-Tipp: Safely through the Winter

Garden-Pond-Tip: Safely through the Winter

Slowly, the days are getting shorter and the autumn season is gradually changing to winter season. During wintertime the fish move to deeper layers of water where they are staying until spring in a kind of hibernation. Their heartbeat slows down to approximately one beat per minute while the metabolic rate comes almost to a complete standstill. Being in hibernation, fish hardly absorb any oxygen and completely renounce any food.

In order to avoid any typical spring diseases the pond inhabitants should be prepared accordingly. The individual proceeding in order to prepare the precious fish for wintertime is easily implemented at low costs.

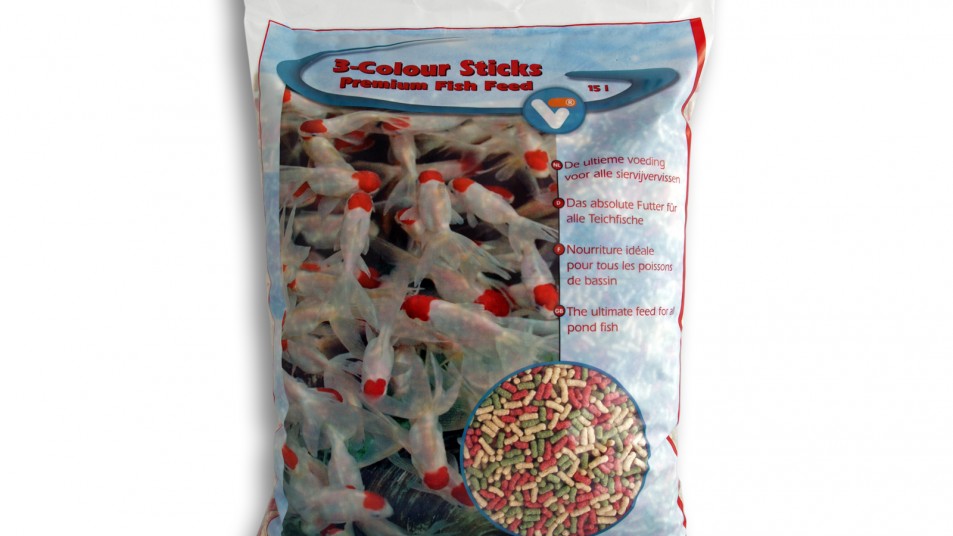
It is their fat reserves that protect the creatures from cold and physical weakness. These fat reserves should be specifically given before wintertime is starting. Feed the fish by adding small portions several times a day. Make sure that the fish take the food and that there are no remaining particles of fish feed in the water. It is important to administer the required vitamins and minerals during the feeding in order to maintain the special condition. By this means you support the fish to build up their fat reserves, moreover, their metabolism is revitalized. At low temperatures you should only use food which can be easily digested, such as Sanikoi or Staple Prime. Due to the high proportion of wheat germ as well as the added vitamins, this food is perfect for being fed in autumn.

Safely through the Winter

The temperatures in the pond should be checked regularly and if possible, reduced by gradual means. Sometimes the pond inhabitants tend to react in a sensitive way to extreme temperature fluctuations. Even temperature changes of 4°C in the course of 24 hours can be extremely stressful for the creatures. This is why the temperature-regulating measures especially with regard to smaller ponds are important. Smaller ponds tend to cool down rather quickly. Due to their lack of depth it is not ensured that there is a layer with a height of approximately 40 cm and a temperature of about 4°C. It is a fact that at about 4°C the water has its highest density and keeps sinking by its own weight thus ensuring that in a depth of more than 80 cm the survival in winter should be possible without any problems. In a pond volume of more than 30.000 litres, the heat is stored sufficiently in the water and the cooling measurably slowed down. Any intervention is necessary only in extreme weather conditions.

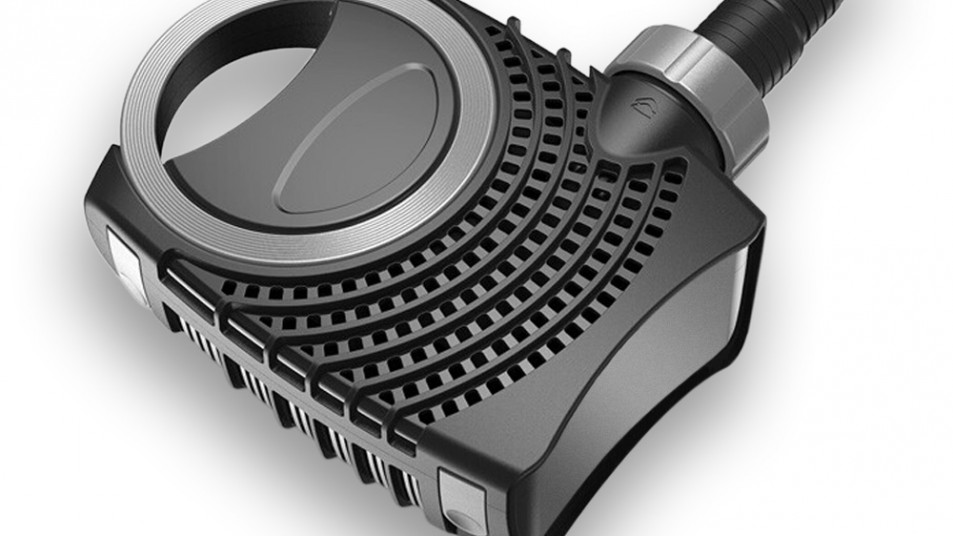
Be careful if the pond pump remains in operation during wintertime. The layers of water are mixed while the protecting layer of water at the pond´s ground is cooled down due to the cold water on the surface. While the formation of ice on the surface can be avoided for a while, the pond inhabitants on the bottom of the pond are freezing to death because the water temperature drops below 4 °C. The flow should be as low as possible in those spots where the pond inhabitants have settled down for wintertime in order to prevent cold water from entering the quiet zone.

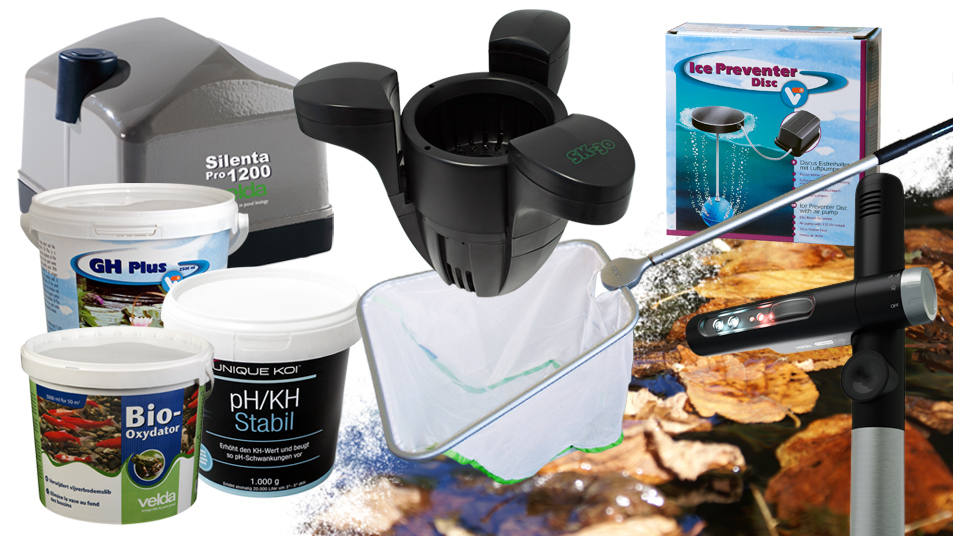
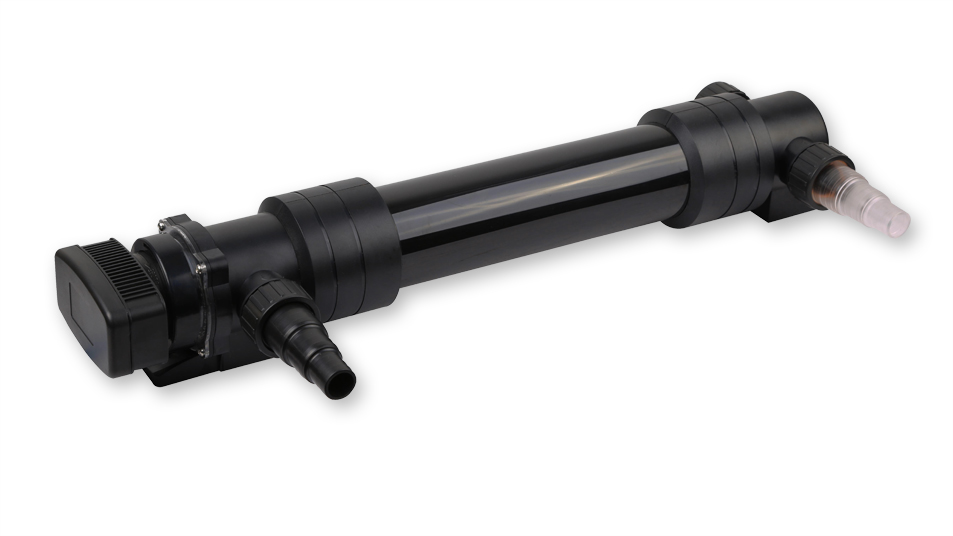
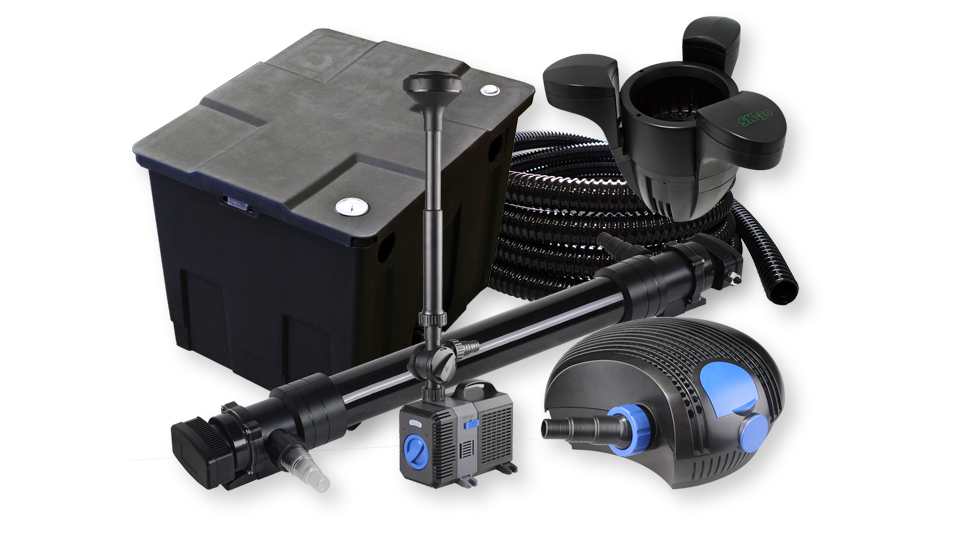
During wintertime immersion pumps should be stored protectively against frost. In winter, oxygen produced by e.g. the Canadian waterweed (Egeria densa) and hornwort plants are sufficient for the pond inhabitants in their resting position. It is useful to operate rather an oxydator or a pond ventilator than a pond pump. The pond water is supplied with fine bubbles of oxygen and putrefaction prevented.

Hibernation also means to refrain from any construction work nearby the pond. Otherwise the fish are troubled while their consumption on energy increases which in turn enhances the risk of a weak condition in spring and illness. In case the pond freezes you should avoid to break it open by tapping or the like. You better thaw the ice with a hair dryer or hot water.

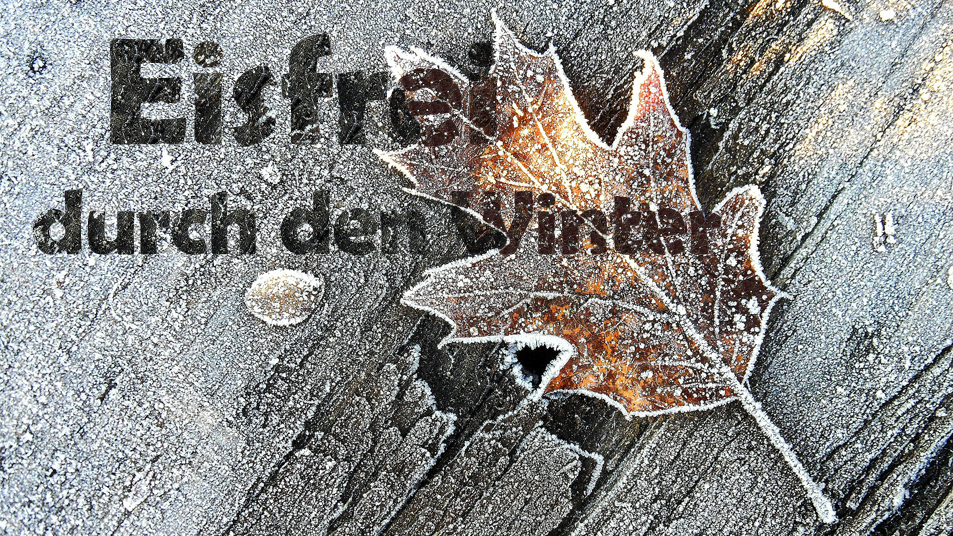
In order to avoid an extreme cooling you can cover the pond by using various materials such polystyrene, polyethylene-balls, twin-wall sheets and more. However, the aforementioned measures should only apply for smaller ponds or in extreme weather conditions. In any case make sure that there is a small spot in the pond that remains uncovered. Said small space should be kept free of ice in order to provide the gas exchange. Moreover, the ice-free spot allows the observation of the pond inhabitants during wintertime thus making possible the immediate intervention in the event of any desease that might occur.

A pond heater in combination with a frost guard have proved to be the most effective and economical ones. The frost guard switches on the pond heater when the temperature is about 0°C thus avoiding the total freezing of the pond. Such systems are offered for example by Schego.

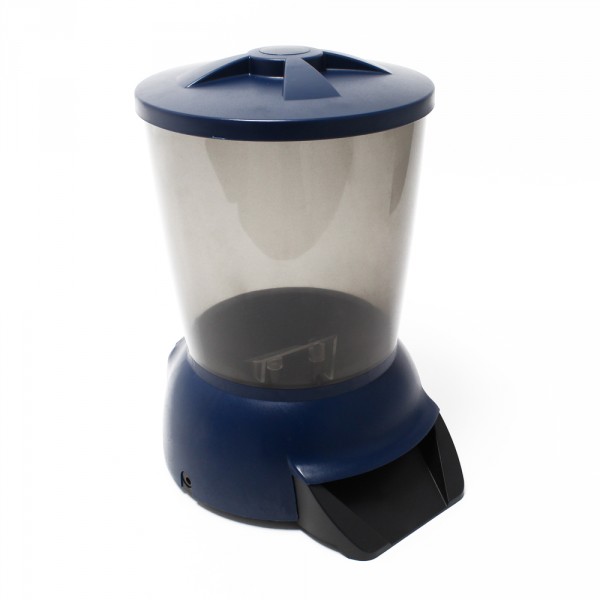
If possible, always keep checking the quality of the water during the winter. If the pond has been well maintained and cleaned in autumn there should be no problems in the course of winter. In winter fish should be fed only when there are continuously warm temperatures. Keep in mind that the food, if it is not eaten, could lead to a problem in spring since it affects the water quality.

Maintenance of your pond in autumn

Maintenance of your pond in autumn

During the months of September, October and November the garden pond gradually comes to settle down and rest. It is precisely the time when plants and creatures prepare for the winter season and wait for the pond owner´s helping hand to support them during this process. Learn more about: Maintenance of your pond in autumn.

The following enumeration may give you an idea about the important tasks to be fulfilled in autumn:

  • Fishing and collection of leaves and plant particles
  • Stretching a protecting foliage net across the pond
  • Cleaning all technical devices and providing for a frost-free storage
  • Drainage of hoses
  • Storage of pond plants that are not in the condition to be sturdy during the winter season
  • Thinning out floating and submerged plants
  • Tying up grasses and reeds
  • Removal of digested sludge
  • Making use of an ice preventer

Fishing leaves / Stretching a pond net

By stretching a pond net across the garden pond, you can save a lot of work in the season of autumn. The pond net ensures that the foliage falling down does not end up in the pond water. Died off leaves as well as particles from plants should be regularly removed by the means of a pont net to provide for the sufficiently required water quality. Plant particles rot away in water, this submitting substances that disturb the pond´s biological balance. This results in fermentation gases beneath the layer of ice in winter whereas in spring there will be a strong growth in algae. The fermentation gases may cause the pond inhabitants to suffocate. An accurate preparation of the pond for the winter season contributes to the health of your fish. So you make sure to take much pleasure in the pond with regard to the forthcoming season.

The installed pond net should be removed before the first overnight freezes and as soon as the leaves have stopped falling down.

Frost-free storage and cleaning of technical devices

The growth of algae in the pond stops at temperatures below 10°C. So there is no need for pond technology during winter. For the maintenance of the pond in autumn, pumps and filters should be removed from it. Freezing water expands, thus generating a strong pressure which in turn damages the technical devices. Clean thoroughly all pump and filter elements and inspect them thoroughly for damage before storage. The storage should be in a frost-free place (e.g. in the cellar). Store the pump in a bucket of water in order to prevent the pump from drying which makes the essential gaskets made of plastic become brittle and porous.

The hoses being used should be thoroughly emptied so that they are not damaged due to frost.

Cultivation of plants = Maintenance of your pond in autumn

In case your garden pond is not as deep as to resettle sensitive plants to frost-free zones, it is advisable to put them in a cool but frost-free place during wintertime. We recommend the cellar or an adequate glasshouse.

Grasses and reeds should be tied up and cut back if necessary. Reeds, cattails and other pond plants should be cut shortly above the water surface. You may also wait to cut the dry stems in spring if you like. There are insects that use the reeds to settle down in winter. The plants provide for an exchange of gas in the garden pond.

Ideally, water lilies and other floating plants are cut with a special pond scissors as far below as possible. Plant remains should be thoroughly removed to the effect that they do not cause a digested sludge on pond´s ground. The special cutting tool has a long handle thus enabling to work from the edge of the pond. The plant residues can be easily removed with a landing net.

Removal of digested sludge

Especially in wintertime, the digested sludge is a problem and much wor for the maintenance of your pond. The process of putrefaction releases poisonous hydrogen sulphide gas that cannot escape the frozen pond and therefore gradually dissolves in the water. It is recommended to remove the digested sludge before wintertime with a bailer or be the means of an electric sludge sucker. The sludge can either be put on compost in thin layers or used as a fertilizer on the flower bed.

Use of an ice preventer

During wintertime fish move into the deeper water areas. It is a kind of hibernation that makes them remain there until spring. It is not only that their heartbeat slows down to approximately one beat per minute but also their metabolism nearly goes to a halt. Being in a hibernation, fishes are low on oxygen and renounce any food.

The creatures are in danger only by freezing or suffocation due to lack of oxygen or a high level of fermentation gas in the water. At a water depth of at least 80 cm the danger of freezing can be excluded whereas lack of oxygen or formation of digester gas can remain a problem when there is a closed layer of ice. This is why it is advised to make use of the so-called ice preventers. They should be used just in time before the formation of ice in the pond.

If you have failed to make use of the ice preventer in time you should not break up the water surface by force. Pressure and sound waves disturb the fish during hibernation. You better make the ice melt by using a hair dryer or hot water.

For the maintenance of your pond it is important that below a temperatures of 12°C you should refrain from feeding the fish. Due to the slow metabolism, the food cannot be digested anymore and leads to death.

incubator wiltec janoel

Incubator – Breeding machine for eggs

Great success with small eggs

WilTec has launched a new branch on the market. Incubators for animal breeding, breeding machines for small and medium sized series, which require the intervention by hand, up to fully automatic machines. Fully automatic machines are able to incubate up to 96 eggs at the same time, the temperature as well as the humidity are automatically regulated. The eggs are turned fully automatically.

Take a look at the store “wiltec.de”: Breeding machines – Incubators

Incubator hygiene

Proper hygiene is essential to achieve good hatching results. Poor hygiene causes chicks to die in their first 10 days of life.

Only clean eggs should be used for incubation. Dirty eggs are potential carriers of diseases that thrive and multiply in the ideal heat and moisture conditions of the incubator. If you need to incubate dirty eggs, wash them first in warm water (44-49oC) that contains disinfectant at a rate recommended by the manufacturer (most household disinfectants are suitable), and dry the eggs quickly after washing using separate paper towels.

Do not soak eggs for longer than four minutes to avoid affecting fertility and do not soak eggs in cold water, as it encourages bacterial penetration through the eggshell.

Fumigating eggs immediately after collection also helps with hygiene. A suitable fumigant is formaldehyde gas, which is made by mixing 1 part (by weight) of potassium permanganate (Condy´s crystals) with 1.5 parts (by volume) of formalin (see Table 1 for the correct amounts for each application). Place the chemicals in a dish on the floor of the incubator. Place the Condy´s crystals into the dish first and then pour the formalin over it. Shut the incubator door quickly and vacate the room.

For proper fumigation, run the machine normally with the correct temperature and humidity. After 20 minutes, open the vents or the door and air the machine for a few minutes. Again, vacate the room.

Healthy stock

It is important that eggs from only a healthy flock are used for hatching, as some diseases can be transmitted through the egg. The egg-transmittable diseases to be most aware of are salmonella infections, fowl typhoid and Mycoplasma gallisepticum.

Eggs laid by birds infected with disease may fail to hatch. Of those that do hatch, some birds may die during brooding, and the survivors may act as carriers and infect healthy chicks.

Do not add eggs from unknown sources to make up numbers, as you risk infecting your flock.

Breeding stock nutrition

The egg provides a complete food store for proper embryo development except gaseous oxygen, which enters the egg through pores in the shell. Breeding stock must be fed a well-balanced diet to fully meet the embryos’ nutrient requirements.

The deficient nutrients are usually vitamins or minerals. A deficiency of these in the breeders’ diet may not show any ill effects in the breeders, though hatchability may be affected, which is why different categories are fed specific diets. Nutritional deficiencies, such as a lack of riboflavin, are the main causes of embryo mortality during the middle stage of incubation (i.e. between the 12th and 14th days).

Hens’ vitamin and mineral requirements for laying eggs are lower than those of breeders. The breeder’s diet should begin six to eight weeks before hatching eggs are required, with particular attention to vitamin A, D3, riboflavin, pantothenic acid, biotin, folic acid, vitamin B12 and the mineral manganese.

Deficient nutrient Result
Riboflavin Leads to poor hatchability with a high incidence of malformed embryos, which are excessively moist
Pantothenic acid Lowers hatchability and causes a high incidence of apparently normal embryos to die over the last two or three days of incubation
Biotin, choline and manganese Leads to abnormal development of the embryo and a condition known as enlarged hock/slipped Achilles tendon
B12 Leads to a rapid decrease in hatchability and a progressively poorer survival of chicks that do hatch

Age of breeding stock

If the male bird is active, not too large or overweight, and fertile, his age has little or no effect on hatchability or the vigour of the chicks. The older the cock bird, the fewer hens he can mate effectively without loss of fertility. Fertility and hatchability also decrease, as the hen’s egg production drops with age, and is highest during her first and second laying season.

Hatching eggs selection

It is important to consider the size, shape and shell texture when selecting eggs for hatching. Best results are obtained by setting eggs that are around the average egg weight for the type of poultry.

Since egg size is highly heritable, the rejection of small eggs will help to maintain good egg size in the progeny. Extra large or small eggs are a handicap in the incubator. The egg shape is hereditary, so continual use of badly shaped eggs perpetuates and increases this fault.

Only eggs with good shell texture should be used for hatching. Shell texture is not heritable; however, weak-shelled eggs may crack, enabling bacteria to enter or excessive moisture to be removed from the egg. Porous-shelled eggs increase the rate of moisture loss during storage and incubation. Hair cracks that are too small for the naked eye to detect can be found by placing a strong light behind the egg. Egg colour does not affect hatchability.

First Season Eggs

Any fertile egg will hatch in the right conditions but “best practice” is to only hatch hen eggs of 12 months and older, even 12 month old hen eggs can be smallish depending on when she hatched. If a chook is hatched in August, Sept Oct, it will produce hatchable eggs at a younger age than one hatched in January Feb Mar. They will have matured and got their pullet size eggs over and done with through winter, whereas a January hatched pullet is too young to have started laying before winter therefore their pullet eggs won’t start until Spring, BUT because they are older and stronger when they come into lay, their eggs get bigger quicker if that makes sense. Pullet eggs will produce small chicks and more often than not these will become smaller hens, who will in turn have smaller eggs who will have smaller chicks and so on.

In saying that the chicks seem to be just as healthy and if the eggs are a reasonable size I would just go for it, start adding meat bird crumble to their starter crumble at about 4 weeks old and that will give them a really good protein boost and they will grow better. Just don’t hatch any very petite eggs.

Collection and storage of hatching eggs

Embryonic development continues if fertile eggs are maintained above 20°C. Therefore, it is essential to collect eggs frequently and store them under cool conditions.

Eggs should be collected at least twice daily, and preferably three or four times. For best hatchability, eggs should be stored no longer than a week before setting.

The best temperature for storing hatching eggs is 10 to 16°C. Storage humidity is also important. Humidity below 70 per cent causes the eggs to lose excessive moisture. Below are the correct wet-bulb readings for a given humidity at the storage temperature. If you do not have a specific cool room, store the eggs in a cool, dry place. Eggs stored under conditions where the temperature and humidity vary tend to start and stop incubation, resulting in pre-incubation and lower hatchability.

Dry bulb Wet-bulb reading
60% relative humidity 70% relative humidity 80% relative humidity
°C °C °C °C
10 6.8 7.4 8.2
11.1 7.6 8.3 9.3
12.2 8.4 9.4 10.5
13.3 9.6 10.6 11.4
14.3 10.7 11.5 12.1
15.3 11.5 12.2 13.3

Other factors affecting success

Rough or careless handling when transferring eggs to the hatching compartment or prolonged delays during transfer, resulting in chilling, may cause embryo deaths.

Excessive inbreeding of poultry may result in lethal or semi-lethal genes, which also cause mortality during incubation.

Consistent temperature

A hen’s normal body temperature varies between 40.5 and 41.7oC, depending on the bird and her degree of activity at the time. The optimum temperature at the centre of an incubated egg is approximately 37.8oC. When hatching under a broody hen, the upper surface of the egg may reach 39.2 to 39.4oC but the egg’s centre will not exceed 37.8°C.

In modern fan-forced incubators, the manufacturer’s recommended temperature setting is between 37.5 and 37.64oC. The lethal temperature for eggs is 39.4oC. The constant and rapid air movement in this type of incubator keeps the eggs’ temperature the same as the incubator’s.

An embryo’s heat production increases as incubation progresses. The temperature increase is greatest during the last two days due to embryo activity. Egg temperature rises up to 2oC above the incubator’s ambient air temperature, which is why the temperature is often lowered by up to 1oC.

Jebao Floating Fish Pond Skimmer

Pond Skimmers – Purpose

Caused by their decomposition, leaves, weeds and other debris floating on the surface of the pond water lead to turbidity and moreover promote the growth of algae. Certainly it is possible to remove these impurities with the help of a net from the water´s surface but depending on the season, this method is very time-consuming.

It is far more effective and less time-consuming to use a pond skimmer to do this task. Especially in the autumn season leaves and small twigs are a burden for the pond. Sinking to the pond´s ground they are responsible for the formation of fermentation gases and mud which in the following year leads to an increased growth of algae and green water in the pond.

A pond pump that is connected to the pond skimmer or that is directly installed in the pond skimmer produces a slight current, thus making the water flow towards the pond skimmer.

All dirt particles floating on the surface of the garden pond are sucked in before sinking to the bottom of the pond. Coarse particles accumulate on the pond skimmer´s sieve they can easily and quickly be removed from while cleaning the pond skimmer so that said contaminants do not pollute the pond.
The cleaning should be done regularly so as not to affect the cleaning performance.

There is a difference between a stand skimmer and a floating skimmer.

Stand Skimmer

They are firmly installed in the pond for example by placing gravel inside the stand. The water ring of the pond skimmer that rests on the pond´ s surface easily bridges water level differences of up to 100 mm, so that rain or evaporation do not affect the function of the pond skimmer.

Floating Skimmer

They are floating freely on the water´s surface, thus offering a good possibility to keep clean the large-sized ponds. For ponds that dispose of an extremely large surface it may be necessary to make use of several floating skimmers in order to keep clean the entire surface.

Depending on the type of pond skimmer, it is possible to either pump the water into a pond filter for further purification or to make the water flow directly back into the pond. The pond skimmer provides for an additional enrichment of oxygen in the pond and contributes to reduce the growth of algae.

SunSun Neo Pond Pump

Selection of Pond Pumps – a way to find the suitable pond pump

The selection of the right Pond Pump depends on a variety of factors. On the one side the size of the garden pond is essential, on the other side the field of application plays an important role.

Do you want to operate a pond filter system? Is there a waterfall or a stream run? Do you wish to have a pond skimmer or a water ornament as for example a little fountain or the like?

Apart from that, a pond pump should operate as efficiently as possible with regard to energy, so that unnecessary energy costs can be avoided.
In most cases, the pond pump works throughout the whole year and round the clock so that you should take into consideration to acquire the most energy-saving pond pump when it comes to select the right one.

The capacity of the pond pump must be necessarily adjusted to the size of the pond filter. Any oversized flow rate will result in an overflow of the pond filter which is to be prevented at all costs.Moreover, you should take into account the pond´s circulation cycle as well as the period of time of the pond water in the pond filter.

According to the type of usage, the ideal circulation cycle depends on different factors: the fish population, aquatic plants, the quantity of sunlight or the desired water clarity. It goes without saying that, as the case may be, there are further components of the filter circuit that are to be coordinated, if necessary.

Basically, two distinctions are to be made, in all of which the opinions differ considerably in part.

1. Optimal Circulation of the Pond

The circulation cycle is defined as the time in hours for passing the entire pond contents through the pond filter.

The following information may serve you as a guideline:

Koi pond / Fish pond:

• 1 cycle per 3 hours
• 2 circulations in 1 hour (without plantings and with large fish population)

Garden pond / Plant pond:

Regarding a pond without fish, there is less circulation necessary. One circulation in a day can be taken as a guideline in order to enrich the pond water with oxygen and to keep the water in constant movement.

Swim pond:

In this case the circulation cycle is highly dependent on the planting and the individual claim.
The upper limit is to be made at 1 x in 2-3 hours, the lower limit at “no circulation”.

2. Resting period of the water in the pond filter / Filter volume

SunSun Pond Filter CBF-350CHere, the actual volume of the pond filter used in non-pressurized pond filter systems is interesting to focus on:

Item 50107 – SunSun CBF-350 Bio-Pond Filter = approx. 85 liters of volume
Item 50108 – SunSun CBF-350B Bio-Pond Filter = approx. 170 liters of volume
Item 50114 – SunSun CBF-350C Bio-Pond Filter = approx. 250 liters of volume
Item 50167 – SunSun CBF-550 Bio-Pond Filter = approx. 110 liters of volume

After a period of 2-3 weeks there are nitrifying bacteria that colonize the filter sponges. They need quite a time to act on the water.
The aspirated period of time that the pond pump in usage requires to fill the pond filter completely once a time, should be with the above mentioned filter volumes between 1,5 minutes and 3 minutes.

With regard to a Mini Pond, a pond pump with a circulation capacity up to 1.000 liters per hour is sufficient. In this case it would be helpful for example to use a fountain pump with a filter. Small to medium sized ponds with an approximate size of up to 10 cubic meters require, at a circulations rate of about once a time every 2 hours, a pond pump delivering up to 5.000 litres per hour. In accordance with larger ponds the size of the pond pump is to be adjusted accordingly. Apart from the size of the pond, there are also to be taken into consideration the fish population and the flow rate that the pond pump loses when the water has to be transported from great depth or to higher altitudes. The average and the length of the hose in usage also affect the quantity of water that reaches the pond filter. The indicated values are meant to be a guideline and may help you to find the suitable pond pump for your garden pond.

Fountain pumps are a visual highlight in a garden pond and beyond that enrich the garden pond with oxygen. We also offer fountain ponds that are equipped with additional filters and UVC-clarifiers to the effect that the fountain pump represents a true surplus value for every garden pond.

Sunsun Clarifier CUV-636

In order to ensure a proper function of the pond pumps it is indispensable to clean them regularly. We recommend a weekly cleaning of the pond pumps. For this, the pond pump should be opened in order to remove any dirt stuck on the pump shaft.

For questions with respect to the cleaning procedure please do not hesitate to contact our support team.

Pond Filter Set Wiltec

Installing Instructions Bio Pond Filter Set

Right from the start, you have to place  the Pond Filter  at the location that is provided therefore in your garden. The relocation at a later point of time is not easy due to the heavy weight of the drenched filter materials of the bio pond filter.

The pond filter should be placed in a balanced way, thus ensuring that during the operation there is no water spilling over on the sides. Moreover, by this means it is ensured that during the cleaning process, the coarse dirt drains entirely through the waste outlet instead of remaining in the pond filter due to a sloping position. When deciding about the location, make sure that the pond filter is not exposed to direct sunlight.

We recommend the pond water´s recirculation through a stream run in order to ensure an additional enrichment of oxygen. In case you decide to use a stream run please note that the pond filter has to be positioned above the stream run. As for the recirculation through  a pond tube we advise not to reduce the outlet, if possible. Otherwise there is the risk of a backlog in the pond filter´s canister that under certain conditions makes the filter system overflow.

Assembly UVc Pond Clarifier (optional)

Sunsun Clarifier CUV-636

Remove the UVC Pond Clarifier from the package and check carefully whether there is a damage due to the transportation. A damaged quartz glass or UVC bulb due to transport or falling down  prevents the proper commissioning of the Clarifier.

The assembly of the pond clarifier at the pond filter should be managed by two persons simultaneously. One person slides the clarifier into the pond filter´s two openings provided therefore and fixes it in this position. Now, the other person mounts the pond clarifier´s screw joints on the inside of the pond filter. For details, please have a look at our mounting instruction. When all screw joints are fixed tightly, you can let go of the pond clarifier. Please note the minimum distance of 2 meters to the pond border when the pond clarifier is installed.

Installation Pond Pump

SunSun Neo Pond PumpWhen installing your  Pond Pump, always keep in mind the quality of the pond ground. After making sure that the bottom of the pond is not covered with plant soil, gravel or the like, the pond pump can, without hesitation, be positioned at the lowest point of the pond.

In case there is gravel, plant soil or the like on the pond´s ground, the pond pump should be installed in a heightened position to make sure that it is not clogged. You can make use of a large stone or a plant basket in order to heighten the pond pump´s position. Please connect the pond pump to the pond filter and the clarifier respectively by using a suitable pond tube.

Please do not take the pond filter system out of operation during a longer period of time, otherwise the necessary microorganisms die from lack of oxygen. The pond pump has to be in operation  24 hours in order to achieve an optimal filter result. UVC-Clarifier can be operated individually at hourly intervals, depending on the degree of the pond´s contamination.  In this case, the turbidity of the water should be controlled.

Premium Fish Feed for Koi

The feeding of Kois

Referring to their alimentation, Kois are very demanding. It is not sufficient to feed them any ordinary fish food to keep them satisfied. There is a large variety of special diet, helping to promote them with respect to growth and colour, keep them healthy and provide for a good muscle building.

Koi food should contain enough minerals, trace elements and vitamins. Normally, these ingredients are added to the fish food in a sufficient quantity. It is important to properly store the food and not to make use of it after the expiration date. Due to wrong or very long storage the fish food loses a lot of important nutrients. It is the heat for example that destroys the vitamin C, known to be very susceptible to temperature. Make sure that Koi food is stored in an appropriate way, so that it is protected against the light. It should be stored in a dry, cool and hermetically sealed way.

The protein contained in the food provides for the growth and development of muscles. The protein should not be used to gain energy as this would lead to the effect that there is an increased secretion of ammonia through the koi´s gills. Said secretion has not only negative effects on the fish but also on the quality of the pond water. Therefore it is indispensable to ensure that fat and protein are added to the fish food in a balanced way.

Scientific studies have shown that a ratio of 1:2-2.5 fat to protein ensures that the fish obtains energy from fat whereas the protein is used to build muscles. Fat is not only the most important source of energy but also has a positive effect on the koi´s condition, thus making sure that the fish is more resistant and resistant to stress respectively.

Carbohydrates should not be included in Koi food. It may lead to the consequence that the fish becomes fat and suffers from liver dysfunction. Kois utilize carbohydrates in a very limited way, leading to the consequence that the main part thereof remains undigested and is excreted in the feces, thus polluting the water.

Observe carefully the Kois´ behaviour and adjust the feeding accordingly. The feeding should not only depend on the water temperature but also on the Kois´ activity. As for summer time, do not only feed prepared feed but also fresh fruit, vegetables or insects. One fasting day per week during summer time helps to relieve the intestine and provides for healthy and active fish. Feed smaller quantities of food several times a day, corresponding to the natural way of the kois´ feeding. Moreover, it helps to protect the water quality and the pond filter.

Fully programmable food dispense

With respect to the growth and well-being of your kois it is essential that the animals are fed regularly by maintaining a constant quantity. We therefore recommend the use of automatic fish feeders.

Automatic fish feeders offer a large variety of possibilities in order to control the feeding, thus ensuring that an optimal quantity of fish food is released into the water at the right time exactly. Fish feeders are easy to install and operate reliably. The carps get well used to the automatic fish feeder and quickly get accustomed to this way of feeding. Of course there is no argument to go on feeding the kois by hand or to make use of a fish dome. This toy allows a better observation and helps to detect diseases at an early stage.